
Last updated October 16, 2026
 Wrought iron
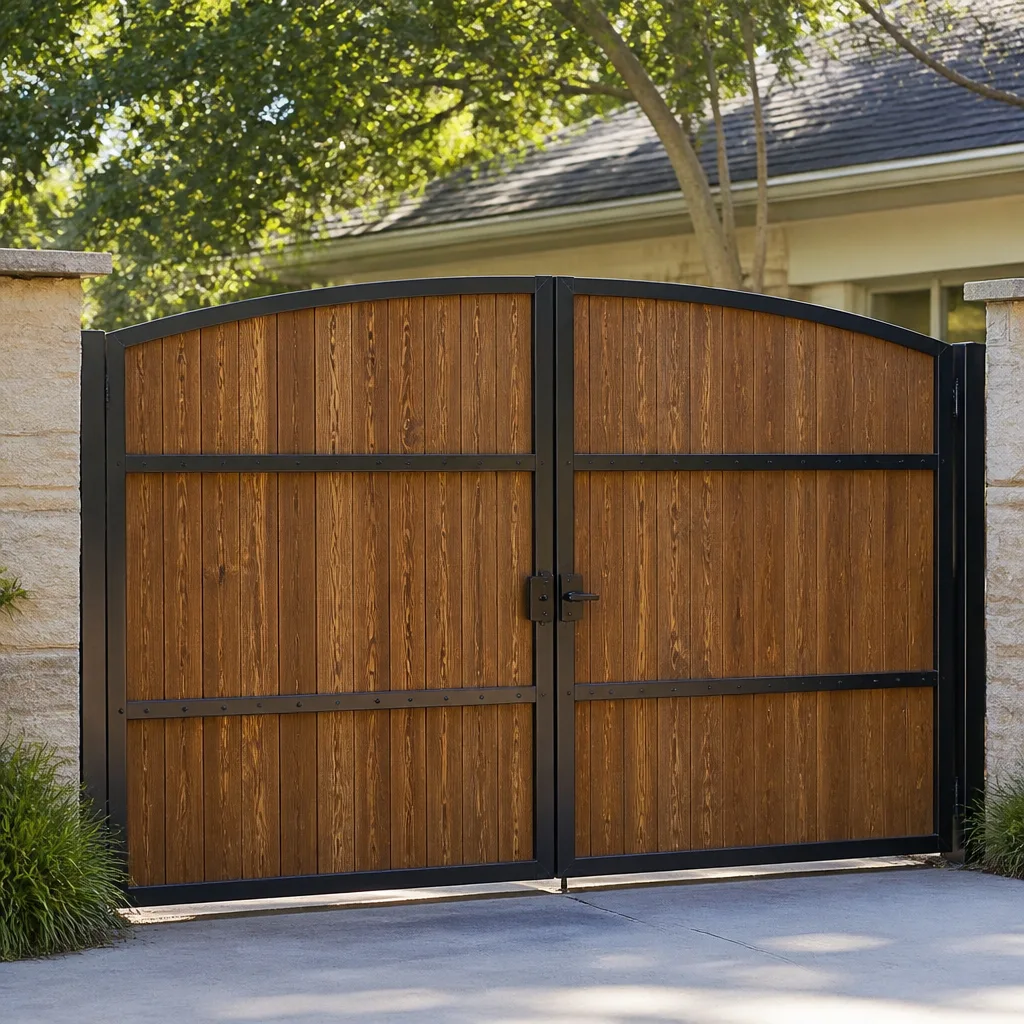 Wood & steel frame
 Farm & ranch
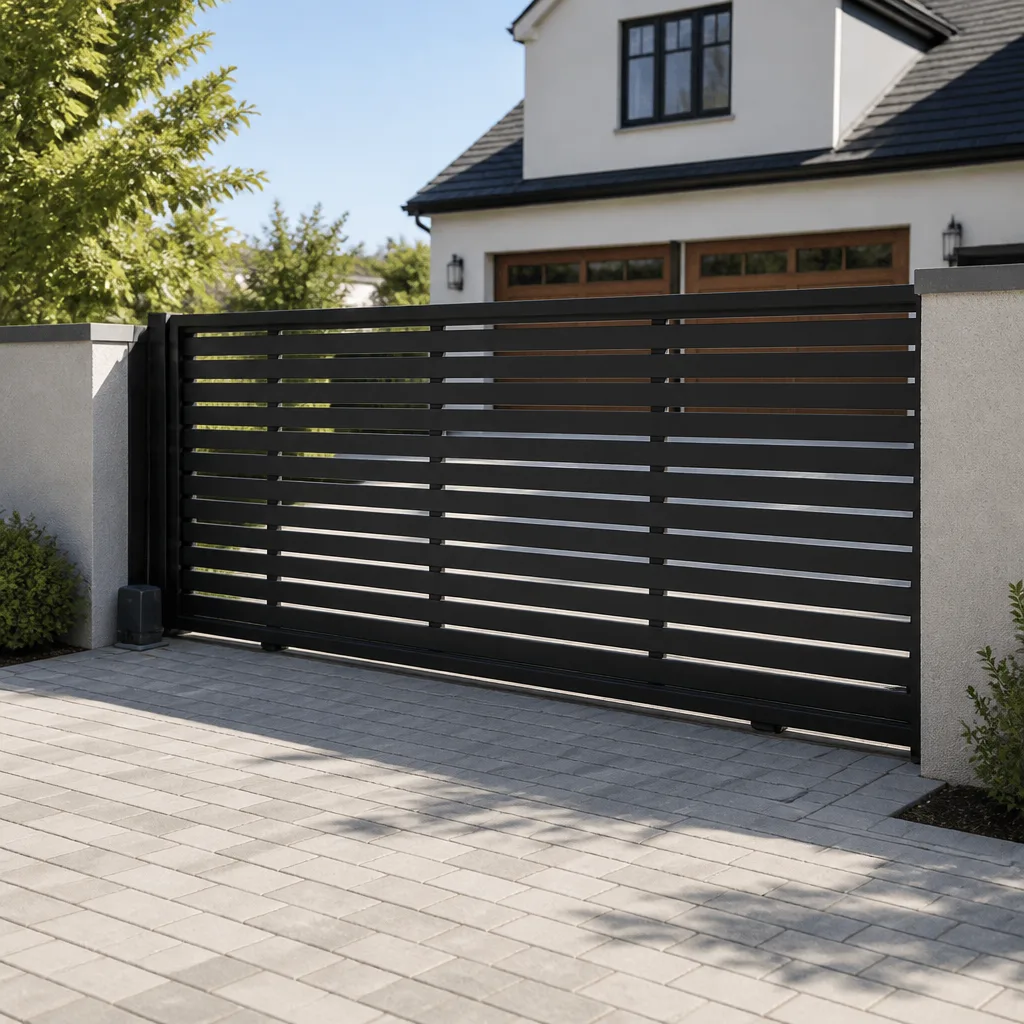 Sliding driveway gates
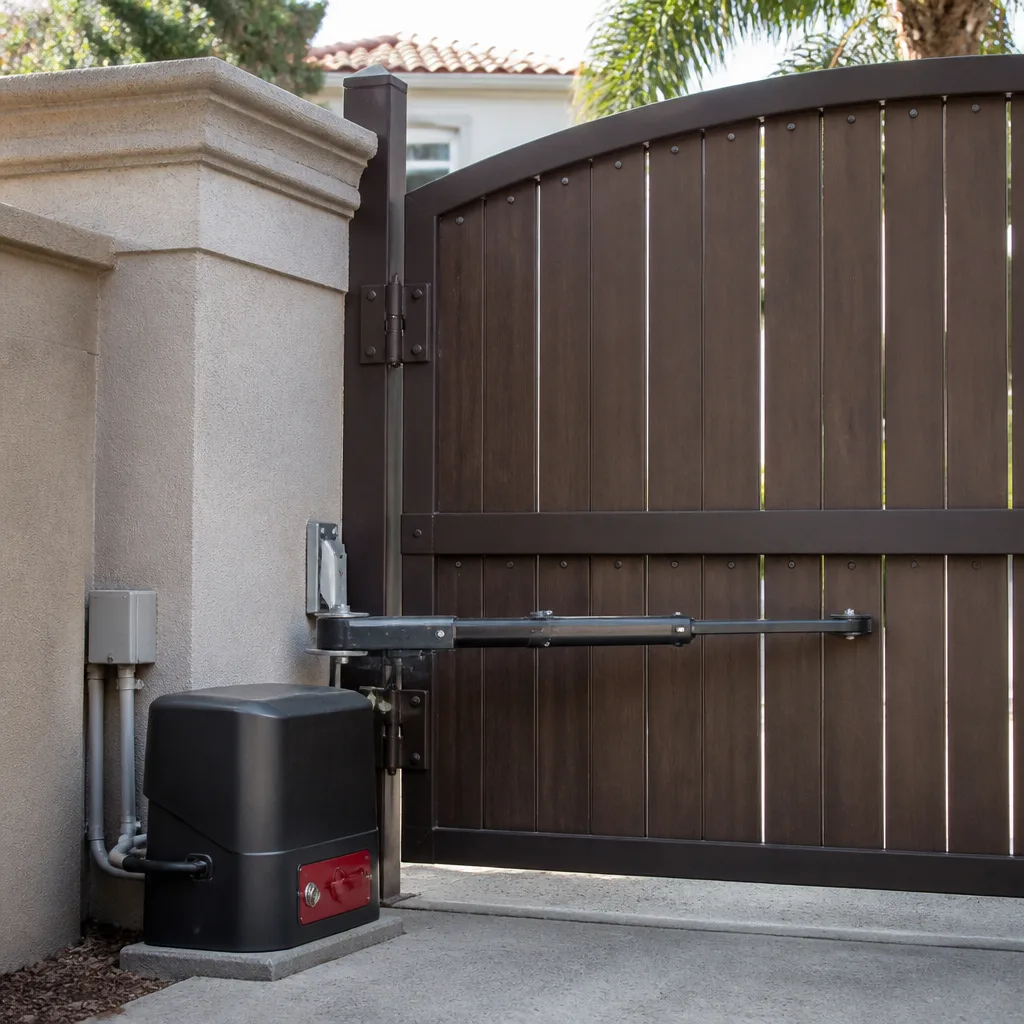 LiftMaster operators
Free on-site gate assessment - hinges, posts, and your LiftMaster or Nice gate operator checked before anything is quoted
The assessment is free and the quote is the invoice.
Get your free estimateDIY vs Professional Gate Repair: The Austin Homeowner’s Decision Guide
Replacing a gate’s photo-eye sensor is a legitimate DIY repair. Adjusting gate travel limits on a high-voltage operator is not. The difference isn’t skill level. It’s consequence. A homeowner in Austin who replaces a sensor saves about $80 in labor. A homeowner who miscalibrates a limit switch on a 500-pound iron gate creates an entrapment risk that UL 325 exists specifically to prevent. This guide draws the line between the repairs you can safely complete with a screwdriver and the ones where a mistake voids a manufacturer warranty, creates a safety hazard, or fails a future home inspection here in Austin. For professional help, see our Gate Repair services.
Quick Answer
Most Austin homeowners can safely handle three gate repairs themselves: replacing photo-eye sensors, swapping remote controls, and lubricating hinges and track rollers. Anything involving the gate motor, the control board, high-tension springs, or the steel gate’s travel path should go to a professional. The cost difference between DIY and professional repair in Austin typically runs $80 to $280 on small jobs, but a failed DIY attempt on a motor or limit switch routinely adds $150 to $400 in diagnostic time and secondary damage to the final repair bill.
Styles & brands we work with
Table of Contents
- The Decision Framework: What’s Safe for DIY, What’s Not
- UL 325 and Texas Safety Standards: What They Actually Mean for You
- Parts That Fit: Which Components Are Interchangeable and Which Aren’t
- How a DIY Repair Affects Your Manufacturer Warranty
- The Hidden Cost of a Failed DIY Attempt
- Three Repairs You Can Do Today: Step-by-Step
- Common Mistakes to Avoid
- When to Call a Professional
The Decision Framework: What’s Safe for DIY, What’s Not
We’ve repaired gates across Austin for nearly two decades, and the homeowners who call us after a DIY attempt don’t usually fail because they lacked ability. They fail because they misjudged the category of the repair. A gate isn’t one mechanism. It’s three systems bolted together: the mechanical gate itself, the electrical operator that moves it, and the safety devices that stop it from hurting someone. Each system has a different set of rules for who should touch it.
The framework below is what we use when a homeowner asks us, “Should I try this myself?” It isn’t based on difficulty. It’s based on what happens if it goes wrong.
Safe for DIY: Low-Voltage, Low-Force, or Non-Powered Components
- Photo-eye sensor replacement: These are 12-volt or 24-volt sensors that sit in plastic housings near the gate path. They unclip, they unplug, the new one plugs in. The worst case scenario is the gate won’t open until you fix the wiring. No one gets hurt.
- Remote control programming: If you have the original manual or can find the model number on the receiver, many remotes pair in under two minutes with a learn button. This includes most Ghost Controls and Mighty Mule remotes sold at Austin hardware stores.
- Lubrication and visual inspection: White lithium grease on hinges, silicone spray on track rollers, and a visual check for cracked welds or loose bolts. This is maintenance, not repair, and every gate manual recommends it.
- Gate wheel or caster replacement on a manual gate: If the gate is not automated, swapping a worn wheel is a straightforward mechanical job with a jack and basic wrenches.
Requires a Professional: High-Voltage, High-Force, or Safety-Critical Components
- Gate motor or operator repair or replacement: The gate motor is the box that slides or swings your gate automatically. It runs on 110-volt or 220-volt power, it generates enough force to move hundreds of pounds, and a mistake here can injure someone standing in the gate’s path. This is the single most common repair we handle that started as a homeowner’s attempt to fix it themselves.
- Control board diagnosis or replacement: The control board is the circuit board inside the operator housing. Diagnosing a board fault requires a multimeter, the manufacturer’s wiring schematic, and experience with the specific model. Guessing wrong can fry a new board the moment you power it on.
- High-tension spring adjustment: Swing gates and many slide gates use heavy torsion or extension springs. These springs hold hundreds of pounds of tension. Releasing that tension incorrectly can snap a spring through a hand or face. Even many professional handymen won’t touch these. That’s a job for someone who works on gates specifically.
- Limit switch or travel adjustment: The limit switches tell the motor where to stop. If you set the travel too far, the gate rams into its stop or its end post. If you set it too short, the gate doesn’t close fully. On an automated gate, an incorrect limit setting also affects the safety reversal system, which is the exact failure UL 325 was written to prevent.
- Any repair that requires removing the gate from its hinges or track: A 400-pound iron gate falling off its hinges is lethal. We use a hoist or a second person for any job where the gate comes off its mounts. This is not a solo Saturday project.
The line comes down to this: if the part you’re touching carries line voltage, holds stored mechanical force, or controls where a moving gate stops, the consequence of an error is measured in hospital visits, not hours of your weekend.
UL 325 and Texas Safety Standards: What They Actually Mean for You
UL 325 is a safety standard written by Underwriters Laboratories for automated gate and door operators. It has been adopted as the governing safety framework for automated gates across the United States, and Texas follows it without exception. The standard exists because automated gates have killed people. Not often, but often enough that a specific standard was written to prevent it.
UL 325 requires every automated gate operator to include two layers of entrapment protection: a primary device and a secondary device. The primary device is typically the operator’s built-in obstruction detection, which senses resistance and reverses the gate. The secondary device is the photo-eye sensor or the sensing edge, which detects a person or object in the gate’s path before the gate makes contact.
Here’s what this means for a homeowner doing DIY work on an automated gate in Austin:
- If you install a new gate operator yourself, you are responsible for the entrapment protection. A gate operator that works but has no functioning photo-eye or safety edge is not compliant with UL 325. If that gate injures someone, the liability falls on you, not the manufacturer, not the retailer.
- If you adjust limit switches and the gate doesn’t reverse on contact, you have created a non-compliant system. The obstruction detection relies on the limit settings to know what normal resistance feels like. Change the limits without recalibrating the force setting, and the gate may push through an obstruction instead of reversing.
- If you buy a used or off-brand operator from a marketplace listing, it may not be UL 325 listed. Listing matters. Non-listed operators are illegal to install in Texas and may not be covered by your homeowner’s insurance if they cause an injury.
We mention this not to scare you out of every DIY job-our Gate Repair Maintenance Checklist for Austin Homeowners covers safe tasks you can handle-but because most Austin homeowners have never heard of UL 325 until something goes wrong. The safe DIY repairs we listed earlier don’t touch the force or travel of the gate, so they don’t change the safety system. The moment you open the operator housing to adjust a component that affects movement, you’re working inside a UL 325 regulated system, and that changes who should hold the screwdriver.
Parts That Fit: Which Components Are Interchangeable and Which Aren’t
One of the fastest ways to turn a $40 DIY part into a $400 repair bill is to install a part that’s “close enough.” Gate manufacturers do not design for interchangeability the way car manufacturers do. Here’s what’s genuinely interchangeable and what isn’t.
Genuinely Interchangeable: Universal and Non-Branded Components
- Photo-eye sensors: Most modern gate operators use a compatible retro-reflective photo-eye that runs on 12-volt or 24-volt power. A universal photo-eye from a hardware store will often work across brands, as long as the wiring matches. This is one of the few parts where the off-brand version is usually fine.
- Remote controls: Many remotes are cross-compatible within a frequency and protocol family. Ghost Controls, Mighty Mule, and DoorKing remotes use different protocols, but universal remotes that support multiple protocols can be programmed to work with several brands. Check the receiver model number before you buy.
- Gate hardware: Hinges, wheels, track rollers, latch hardware, and gate stops are mechanical parts that don’t know or care what brand your operator is. Buy them by size and weight rating, not by brand.
- Batteries for solar-powered operators: Most solar gate systems use standard 12-volt sealed lead-acid batteries. These are interchangeable across brands if the amp-hour rating matches. This is a common replacement for Ghost Controls solar systems in Austin, where the sun beats on the panel all summer but the battery still ages out every three to five years.
Not Interchangeable: Component-Matched Parts
- Control boards: Every manufacturer uses a different board architecture. A Viking board will not work in a DoorKing operator, and neither will accept a generic aftermarket board. The board must match the operator model exactly, down to the revision number.
- Gear sets and drive assemblies: The internal gearing in a slide gate operator is machined to match that specific motor and that specific housing. An off-brand gear kit will strip prematurely or damage the motor. This is a part we see homeowners attempt to save money on, and it’s consistently one of the most expensive follow-up repairs we do.
- Limit switch assemblies: The limit switch mechanism is mounted and wired differently across brands. Even two models from the same brand can use different limit switch parts.
- Any part with a UL listing specific to the operator: The safety system is tested as a unit. Swapping in an unlisted component can invalidate the listing, which is a problem for both safety and your homeowner’s insurance.
The rule of thumb: if the part plugs into a harness or clips onto a bracket and doesn’t carry line voltage, it’s probably interchangeable. If the part is soldered to a circuit board, drives the motor, or interrupts the power, buy the exact match or call a pro.
How a DIY Repair Affects Your Manufacturer Warranty
Most Austin homeowners don’t read their gate operator warranty until they need to file a claim. By then, the DIY repair that voided it is already done. Here’s what the two manufacturers we work with most often actually say about owner-performed work, and what it means in practice.
LiftMaster publishes a warranty that covers the operator against defects in materials and workmanship for a set period, typically one to three years depending on the model, but the warranty is expressly conditioned on installation and service being performed by a qualified technician. The language varies by model line, but the effect is consistent: if a homeowner opens the operator housing and modifies the wiring, the control board, or the limit assembly, LiftMaster has a documented basis to deny a subsequent warranty claim. The warranty follows the equipment, not the owner, so if the previous homeowner did the DIY work, the new owner inherits the voided warranty.
Viking operators carry a similar provision. Their warranty covers factory defects, but they require that installation and service be performed by factory-trained personnel. A homeowner who wires in a universal receiver or replaces a limit switch with a generic part has given Viking a clear reason to decline coverage if something else fails later. We have seen this happen in Austin with a Viking swing gate operator where a homeowner’s board replacement with a used part from an online marketplace caused a motor failure. The motor was under warranty. The claim was denied because the board had been replaced by someone without factory credentials.
The practical takeaway: your manufacturer warranty is only as good as your maintenance records and your parts receipts. If you do a DIY repair that touches the electrical system, document everything and keep the original parts. But understand that the manufacturer can still decline coverage, and they often do. If your operator is under warranty and the repair involves the board, the motor, or the limit assembly, the warranty alone is a good reason to use a factory-trained technician instead of a Saturday wrench session.
The Hidden Cost of a Failed DIY Attempt
When a homeowner attempts a gate repair and fails, the final professional bill is almost always higher than it would have been if they had called first. This isn’t because technicians charge more to follow a DIY attempt out of principle. It’s because the failed attempt adds work.
Here’s how a typical failed DIY repair on a gate motor plays out in Austin, based on what we see routinely:
- Disturbed wiring: The homeowner disconnected wires to take out a part, lost track of which terminal was which, and reconnected them incorrectly. The technician now has to reverse the wiring damage before beginning the actual diagnosis. That’s 30 to 60 minutes of labor that wouldn’t have happened otherwise.
- Damaged components: The homeowner used a generic part that overloaded a circuit, or forced a connector, or stripped a screw on the control board. The part now must be replaced in addition to the original fault. A $40 universal receiver can become a $250 board replacement.
- Misdiagnosis time: The technician has to figure out which symptoms are from the original problem and which are from the attempted repair. That diagnostic split can add an hour to the job.
- Safety re-verification: After any repair that touches the travel, force, or safety system, the technician has to re-test the entrapment protection to UL 325 standards. That’s not optional. It’s time that has to be paid for.
In dollar terms, Austin gate repair companies typically bill $75 to $130 per hour for diagnostic and repair labor. A straightforward motor capacitor replacement that would have cost $180 to $280 as a first-call repair can become a $350 to $500 job after a failed DIY attempt added wiring repair, a replacement board, and extra diagnostic time to the ticket. The DIY route isn’t inherently a bad financial decision for the small jobs. It becomes a bad one when the repair crosses into the electrical or mechanical force systems and then fails. See our Gate Repair Cost Breakdown: The Austin Homeowner’s Reference for 2026 for typical pricing.
Three Repairs You Can Do Today: Step-by-Step
These three repairs are the ones we’re comfortable telling any Austin homeowner to tackle themselves. They’re low-voltage or no-voltage, they don’t affect the gate’s force or travel, and the worst-case failure mode is that the gate doesn’t move until a pro arrives.
1. Replace a Photo-Eye Sensor
- Turn off the power to the gate operator at the breaker or the operator’s power switch. Never work on any gate component with the power live, even a 12-volt sensor.
- Locate the photo-eye sensors. They’re the small plastic boxes mounted on each side of the gate path, usually six to eighteen inches off the ground, pointed at each other.
- Unclip the sensor from its mounting bracket. Most snap off with a firm pull. Some have a small retaining screw.
- Unplug the two wires from the back of the sensor. Note which wire goes where. If the wires are the same color, it doesn’t matter, but photograph the connection before you unplug anything.
- Plug the wires into the new sensor, clip it back into the bracket, and align it with the sensor on the other side. Most sensors have an alignment LED that lights up when the two sensors are pointed at each other correctly.
- Turn the power back on and test the gate. It should open and close normally. If the gate refuses to close and the operator blinks a code, the sensors aren’t aligned. Adjust one side until the LED confirms alignment.
2. Program a Replacement Remote Control
- Find the operator’s model number. It’s usually printed on a sticker on the side or back of the operator housing. You need this to buy the right remote.
- Buy a remote that lists compatibility with your operator. For Ghost Controls systems, the remote must be a Ghost Controls frequency match. For DoorKing, buy a DoorKing remote. Universal remotes work in many cases, but you’ll spend more time programming them.
- Open the operator housing and locate the learn button on the control board. It’s usually labeled “LEARN” or marked with a radio icon. On some models it’s accessible without opening the housing.
- Press and release the learn button. The operator should beep or flash a light to indicate it’s in pairing mode.
- Press and hold the button on the remote you want to pair. Release it when the operator beeps again or the gate responds.
- Test the remote from your car, from the house, and from the sidewalk. If it works, you’re done. If it doesn’t, repeat the pairing sequence once before you assume the remote is bad.
3. Lubricate Hinges and Track Rollers
- Disconnect the operator from the gate so the gate moves freely. On most operators there’s a manual release handle or key. This lets you move the gate by hand without resistance from the motor.
- Clean the hinges and track rollers with a rag to remove built-up dirt and old grease. Austin’s dust and pollen season leaves a film that turns into grinding paste if you lubricate over it.
- Apply white lithium grease to each hinge pivot point. One to two short sprays per hinge is enough. Wipe away excess so it doesn’t drip onto the driveway.
- Apply a silicone lubricant to the track rollers and the top track if you have a slide gate. Do not use grease here. Grease attracts dirt and gets gummy in the heat. Silicone dries clean.
- Move the gate through its full travel by hand a few times to work the lubricant in. Reconnect the operator and run the gate two or three times on the motor.
This maintenance takes about half an hour and should be done twice a year in Austin, once in the spring before the summer heat and once in the fall before the cooler months. It extends the life of the hardware and catches small problems before they turn into a full gate repair in Austin.
Common Mistakes to Avoid
- Working on the operator with the power on: This is the most dangerous and most common mistake. A 110-volt shock may not kill you, but the arc from a slipped screwdriver can destroy a control board in a fraction of a second. Turn off the breaker. Every time.
- Using WD-40 on gate hardware: WD-40 is a water displacer, not a lubricant. It washes away the existing grease and then evaporates, leaving the metal dry. Use lithium grease on hinges and silicone on rollers. This mistake alone keeps gate repair pros busy across Austin every spring.
- Buying a “universal” control board: There is no such thing. An aftermarket board that claims to work in multiple operator brands will either fail quickly or damage the motor. Buy the exact board for your exact model.
- Adjusting limit switches to fix a noisy gate: A grinding or straining noise at the end of travel is usually a mechanical issue, not a limit issue. Changing the limits to compensate pushes the problem into the operator and wears out the gear set. Diagnose the noise before you change the settings.
- Ignoring a gate that reverses for no reason: A gate that starts to close and then reverses is telling you the obstruction sensor sees something. It could be a leaf, a shadow, a misaligned photo-eye, or a failing safety edge. Don’t unplug the sensor to make the problem go away. That removes a federally mandated safety device from your gate.
- Replacing one broken wheel instead of all of them: If one track roller has worn out, the others are usually close behind. A new wheel next to a worn wheel puts the load unevenly on the new one and shortens its life. Replace the set.
- Skipping the safety test after any electrical repair: After any repair that touched the operator’s wiring or settings, the UL 325 entrapment test must be redone. Place a solid object in the gate’s path and confirm the gate reverses on contact. If it doesn’t, the repair isn’t finished. Call a electric gate repair professional in Austin before using the gate.
When to Call a Professional
The gate is making a sound it never made before. The gate stops halfway and won’t move. The operator hums but the gate doesn’t move. The gate reverses for no reason every third cycle. The manual release doesn’t work. Any of these is a signal to stop doing it yourself and call someone who works on gates every day.
Specific situations where you should not attempt the repair yourself: the gate has come off its track or dropped on its hinges; you smell burning plastic near the operator; the circuit breaker trips every time the gate runs; the gate has hit a person, a pet, or a car and now behaves erratically. Each of these involves either structural failure, electrical fault, or safety system damage.
Warden Gate Repair Austin offers free estimates in Austin. If you’re not sure whether the job is a Saturday project or a professional call, describe the symptom and we’ll tell you honestly which category it’s in. Call (361) 268-6253.
See the difference
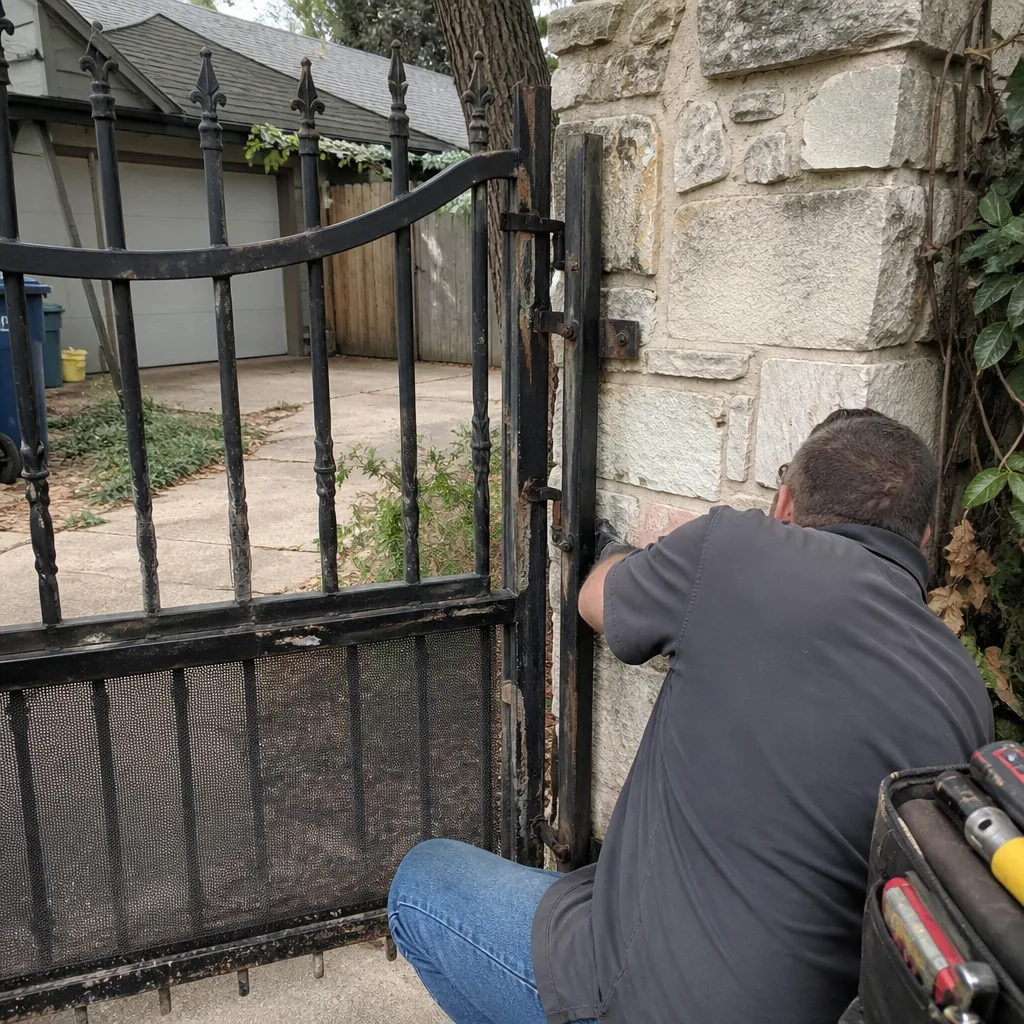 Before
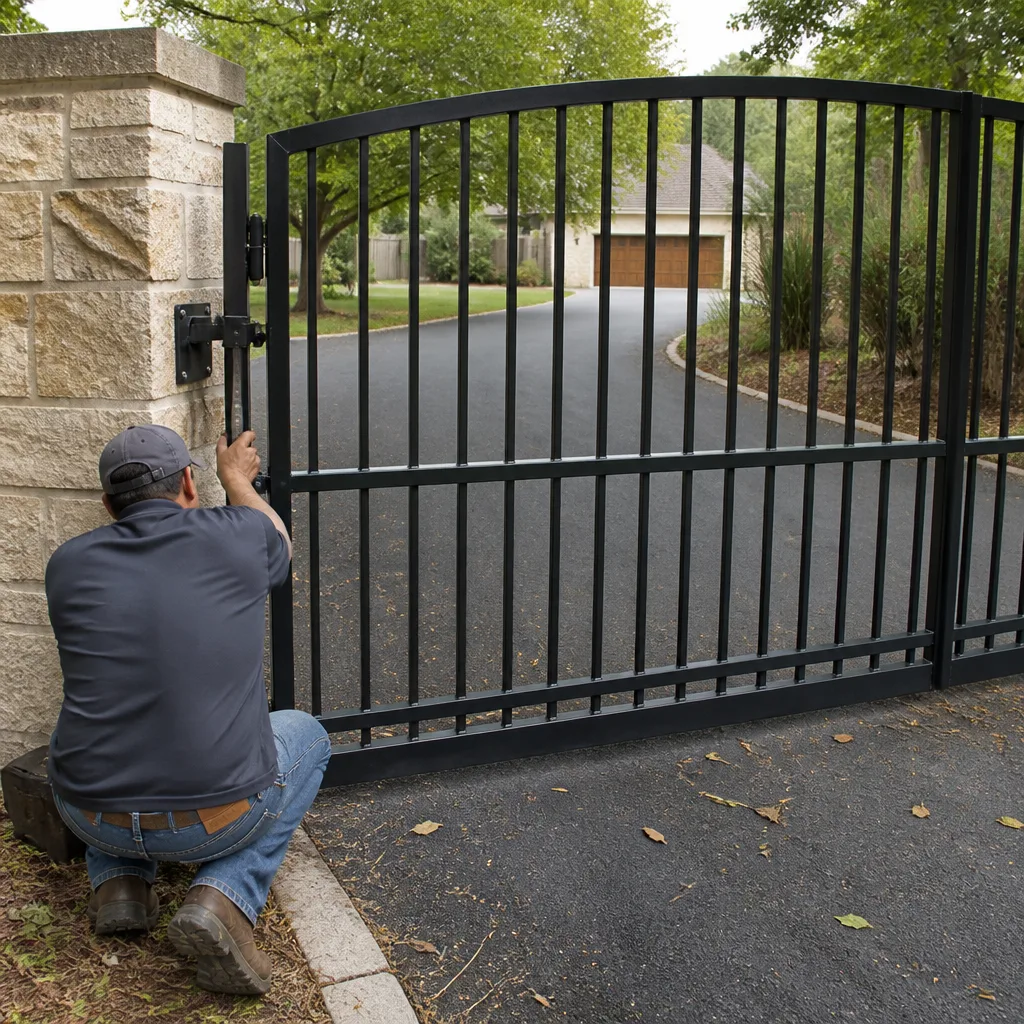 After
After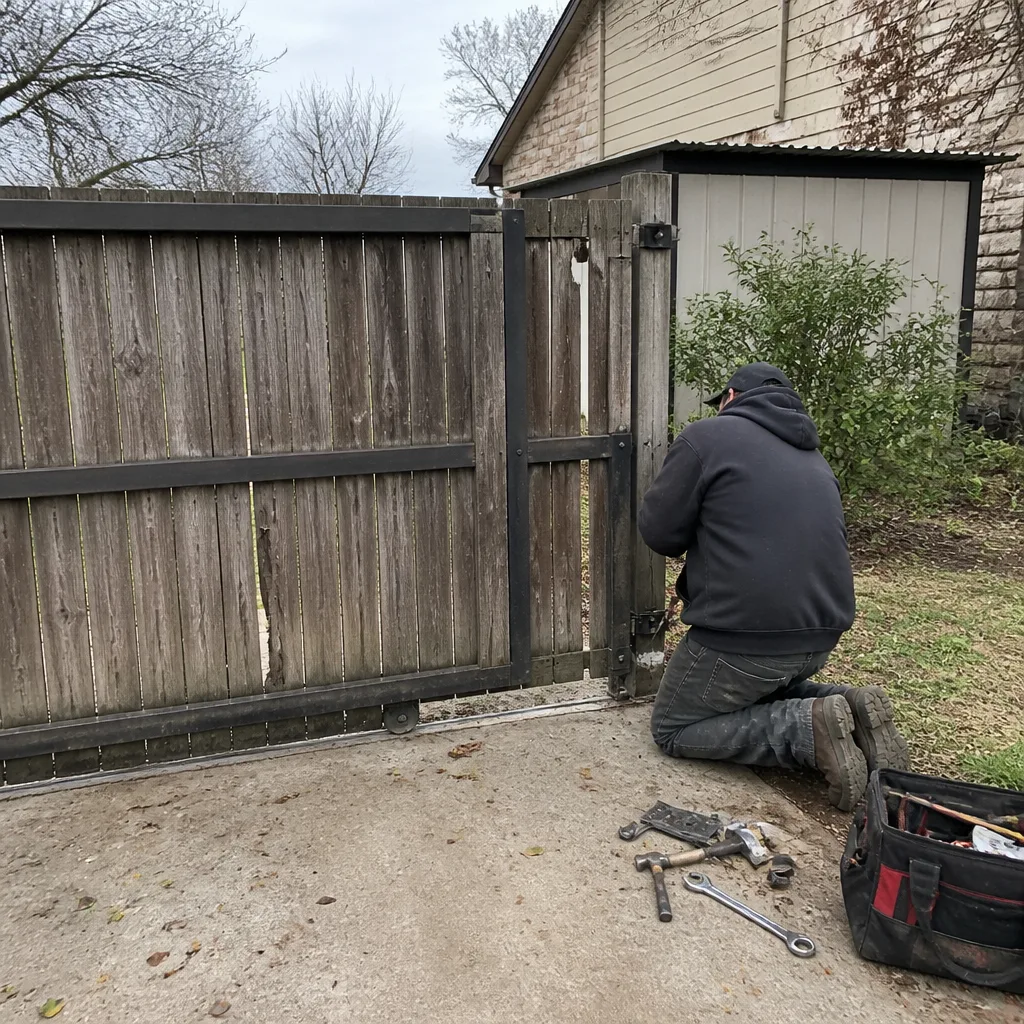 Before
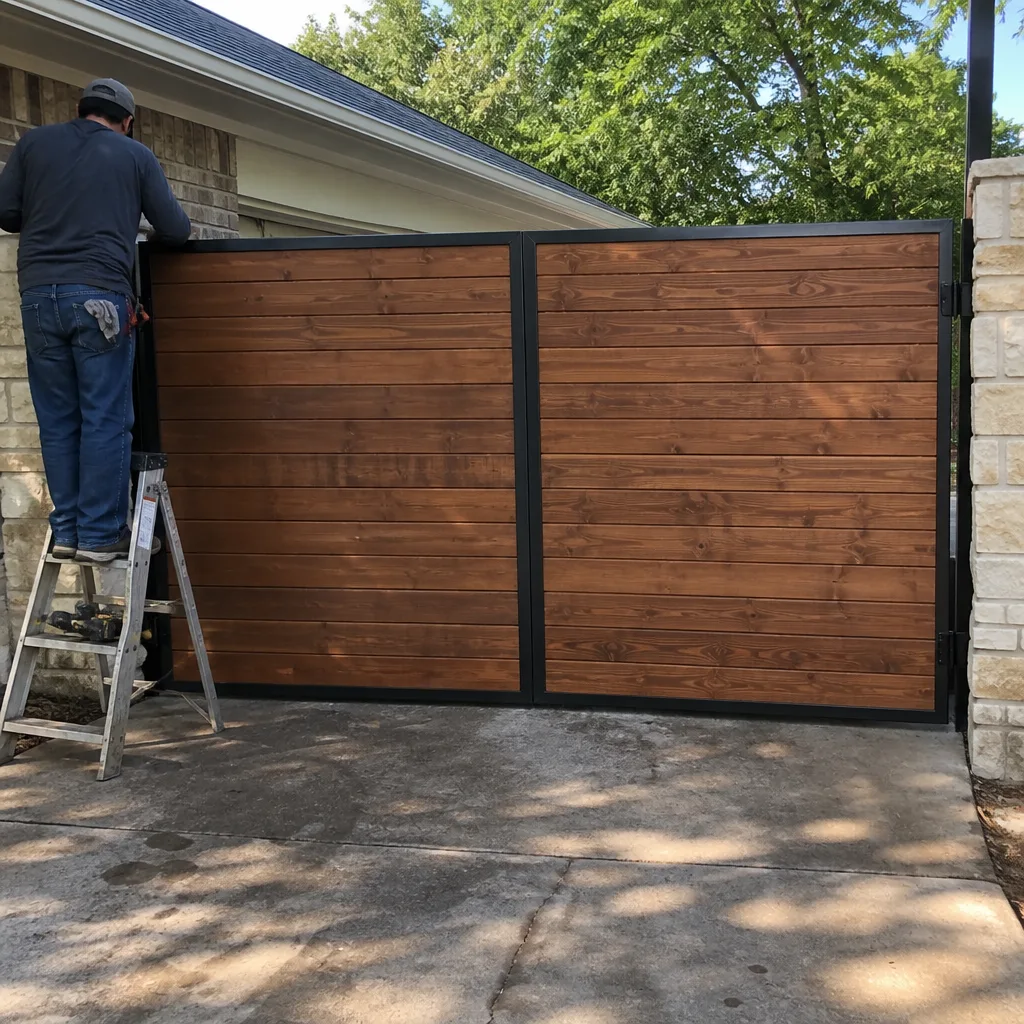 After
After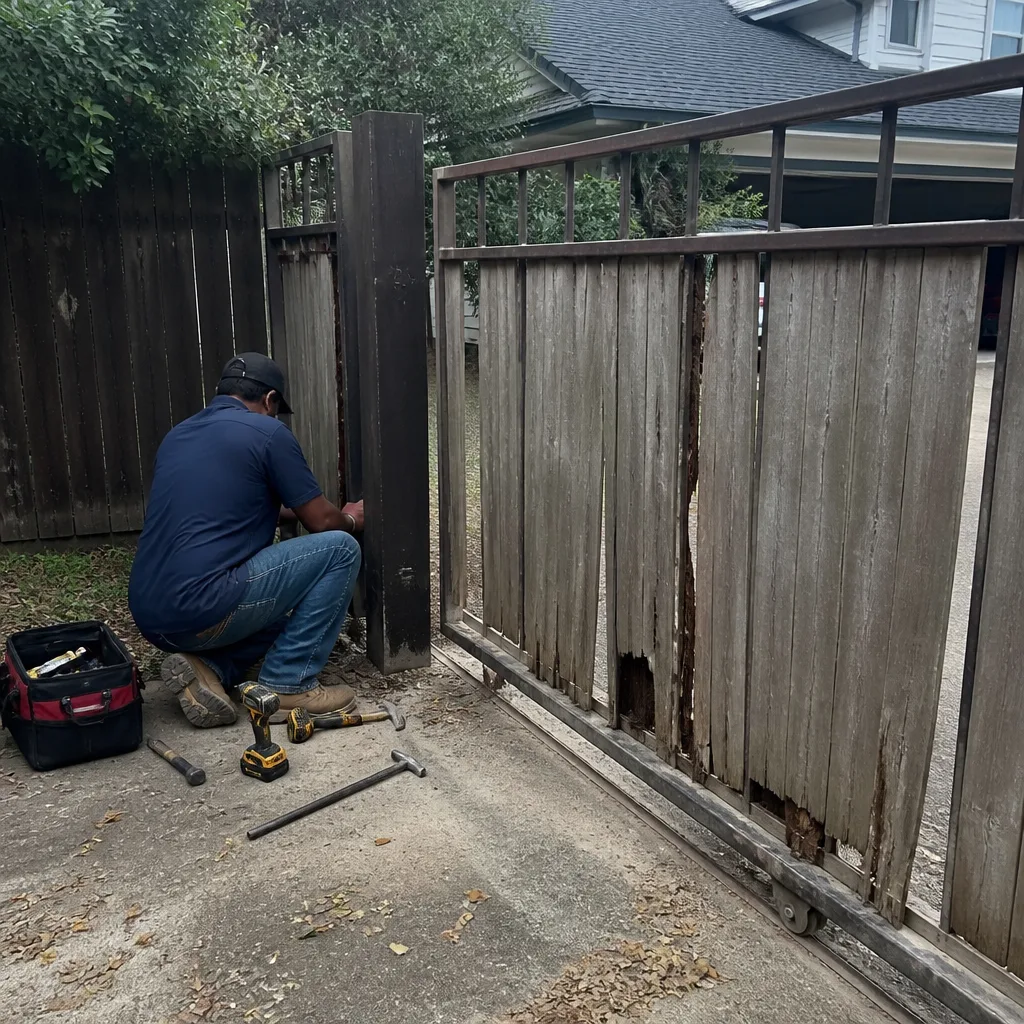 Before
 After
AfterFrequently Asked Questions
Gate repair in Austin typically costs $150 to $350 for common fixes like sensor replacement, remote programming, and hinge lubrication, while motor and control board repairs run $300 to $800 depending on the parts and the operator brand. Every job from Warden Gate Repair includes a written price before any work starts, so the number you see is the number you pay. Call (361) 268-6253 for a specific quote on your gate.
You can safely handle a photo-eye sensor replacement, a remote control programming, and lubrication yourself, but anything involving the motor, control board, springs, or limit switches should be handled by a trained professional because those components carry line voltage or stored force and a mistake creates a safety hazard. The full decision framework is in this guide from our Austin gate repair team.
A quality gate motor in Austin typically lasts 8 to 12 years, but the Texas heat shortens the lifespan of control boards and capacitors, which often fail before the motor itself. Regular maintenance twice a year catches the heat-related failures early and extends the useful life of the operator.
Warden Gate Repair Austin services LiftMaster, FAAC, BFT, Linear, Viking, Ghost Controls, DoorKing, Elite, and Mighty Mule operators. Our technicians are factory-trained on these nine brands, so the right parts and the right knowledge arrive together on every gate motor repair in Austin.
Yes, we offer same-day repair appointments when the schedule allows, and we answer calls live 24 hours a day, 7 days a week, so you’re never leaving a voicemail and hoping for a callback. Call (361) 268-6253 and a person will pick up.
It can, especially if the repair touches the electrical system, the control board, or the limit settings, because both LiftMaster and Viking condition their warranties on installation and service by qualified personnel and have denied claims after owner-performed work. If your operator is under warranty, the cost of a professional repair is usually less than the value of the warranty you’d lose by doing it yourself.
The Bottom Line
The DIY versus professional question for gate repair in Austin isn’t about whether you’re handy. It’s about whether the component you’re touching carries voltage, stores force, or controls the movement of a heavy gate. Sensors, remotes, and lubrication are fair game. Motors, boards, springs, and limit switches are not. A failed DIY attempt on the wrong side of that line adds diagnostic time, secondary damage, and safety risk to a repair that would have been straightforward if called in first. When you’re not sure, describe the symptom to a professional or check our more guides & resources. Warden Gate Repair Austin gives you a name, a photo, a written price, and a straight answer before any work begins. That’s how it should work.
Written by Cole Rafferty, Owner at Warden Gate Repair Austin, serving Austin since 2008.